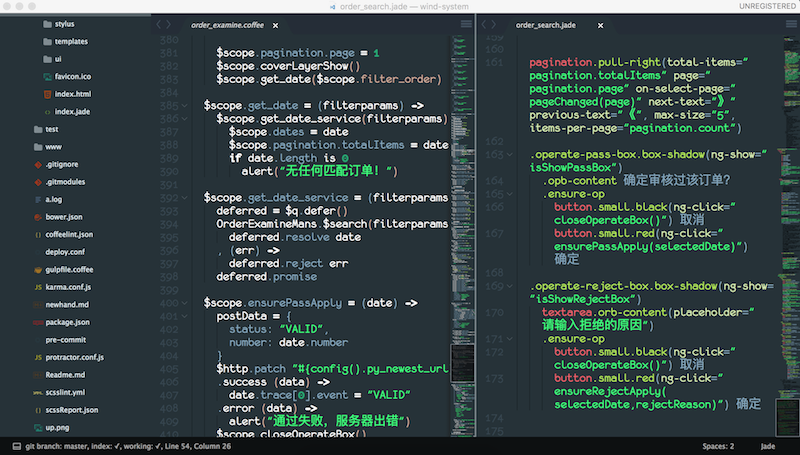
sublime 养成记
作为大多数前端攻城狮的主力编辑器,怎么能不让它美一些呢。
打开偏好設置,參照以下配置,开启你神祕的sublime text 3之旅吧!
1 | { |
常用插件
- 插件安装包 package control
ConvertToUTF8: GBK编码兼容
JsFormat: javascript格式化,包括json.切换Syntax后按 Ctrl+Shift+A?格式化
ColorSublime:用来安装官网的所有主题。
Color Highlighter: 高亮CSS中的颜色,可以设置成用背景色或者边框提示颜色
-
{ "ha_style": "filled", "icons": false }
-
DocBlockr: 代码块注释
/*:回车创建一个代码块注释/**:回车在自动查找函数中的形参等等。
Git: 还没学会用。
Modific: 高亮文件上次提交后的改动,适合git和svn
BracketHighlighter 括号高亮
BracketGuard 高亮错误的括号
Better coffeescript
ColorPicker 拾色器 (这个可以用其他软件替代)
CSScomb: 给css的属性排序,默认按键是ctrl+shift+c,使用后能会留有空行,再和下面的格式化插件配合使用,效果最佳
CSS Format css格式化插件 // 先
cmd+shift+p然后选择选项,个人习惯选择Format CSS: ExpandedCSS3 支持CSS3,语法高亮,自动补全
Ctags 跳进方法内部,不过配置有些麻烦
Jade
Javascript Next: 支持es6,还未使用
LiveStyle 支持实时调整CSS属性 需要文件路径 chrome也要安装插件 不常用
SCSS
SyncedSidebarBg 让侧边栏和中间背景色相同
typescript
Babel ES6/2015 和 React JSX上添加语法高亮
ES6语法检查 eslint
- 首先是要系统全局安装eslint, 运行
npm install -g eslint,npm install -g babel-eslint - 下载插件
sublimeLinter - 下载
sublimelinter-contrib-eslint - 下载完成后修改Sublimelinter 配置,Preferences->Package Settings->SublimeLinter->Settings-User,
- debug: true 开启 debug 模式 paths: 根据具体环境,设置 ESLint 路径
- 例如:
1
2
3
4
5
6
7
8
9
10
11
12
13
14
15
16
17
18
19
20
21
22
23
24
25
{
"user": {
"debug": true,
...
"linters": {
"eslint": {
...
"excludes": ["*.html"]
}
},
...
"paths": {
....
"osx": [
"/usr/local/node/v0.12.7/bin"
// 如果用nvm装的会是这个
"/Users/kyriejoshua/.nvm/v0.10.30/bin/"
],
"windows": [
"C:\\Users\\用户名\\AppData\\Roaming\\npm"
]
}
...
}
}- 然后在项目根目录下生成eslintrc.json文件
- 运行
eslint --init
- 运行
- 选择一些基本配置生成文件
- 具体配置看这里
- ‘off’ or 0 关闭规则
- ‘warn’ or 1 将规则视为警告
- ‘error’ or 2 将规则视为错误
- 首先是要系统全局安装eslint, 运行
受不了自帶的丑陋图标?——更换图标方法
– You got the replacement icon (whatever file type, not neccessarily icns) somewhere, open it with Preview.点击准备替换的图标。 – Cmd + Option + 2 to open Preview’s Thumbnail pane. – Select the image in the Thumbnail pane and Cmd + C 复制选中图标 – Use Cmd + I to open the Info panel for the App. 打开app的图标预览 – You see the small icon at the top left of the Info panel. Click to select and Cmd + V 选中粘贴That’s it! It might take longer than your method, but it doesn’t require the icon to be with “.icns” extension.
评论